Grain control
Interactive Guide · Analyzer 1.1
FilmMatch Analyzer Interactive Guide
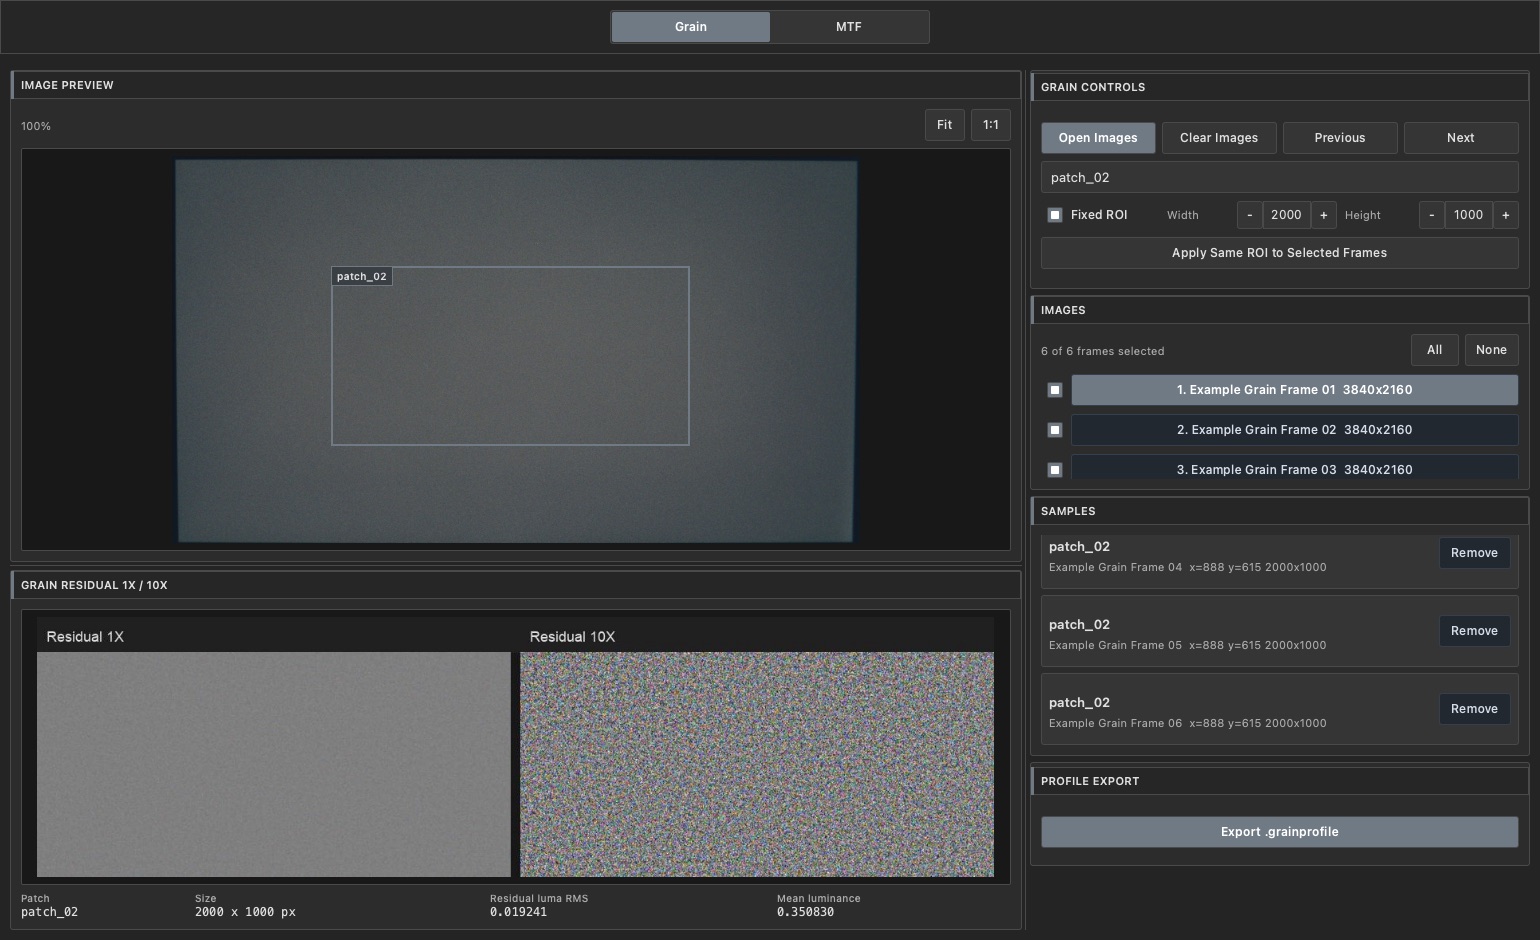
This interactive guide demonstrates creating Grain and MTF profiles for FilmMatch Grain OFX. It uses greyscale patches at different luminance levels from a 16mm film-out for Grain profiling, and slanted-edge images to match Digital to Film MTF. The pictures are illustrative and reduced for fast loading.
01 · Interface tour
Click a control to open its explanation.
Move over a button to highlight it, then click to open its information card. On a touch screen, tap the control directly. The screenshots show the application’s actual interface with illustrative example content.
02 · Grain profile
Build a profile from representative grain regions.
Sample clean, uniform areas across a useful range of brightness and colour. The Grain Analyzer is robust to subtle vignetting and low-frequency variations, but sampling a uniform area produces more accurate results. Use the same name when several ROIs should be averaged into one profile entry. Create the Grain profile at the resolution at which it will be used.
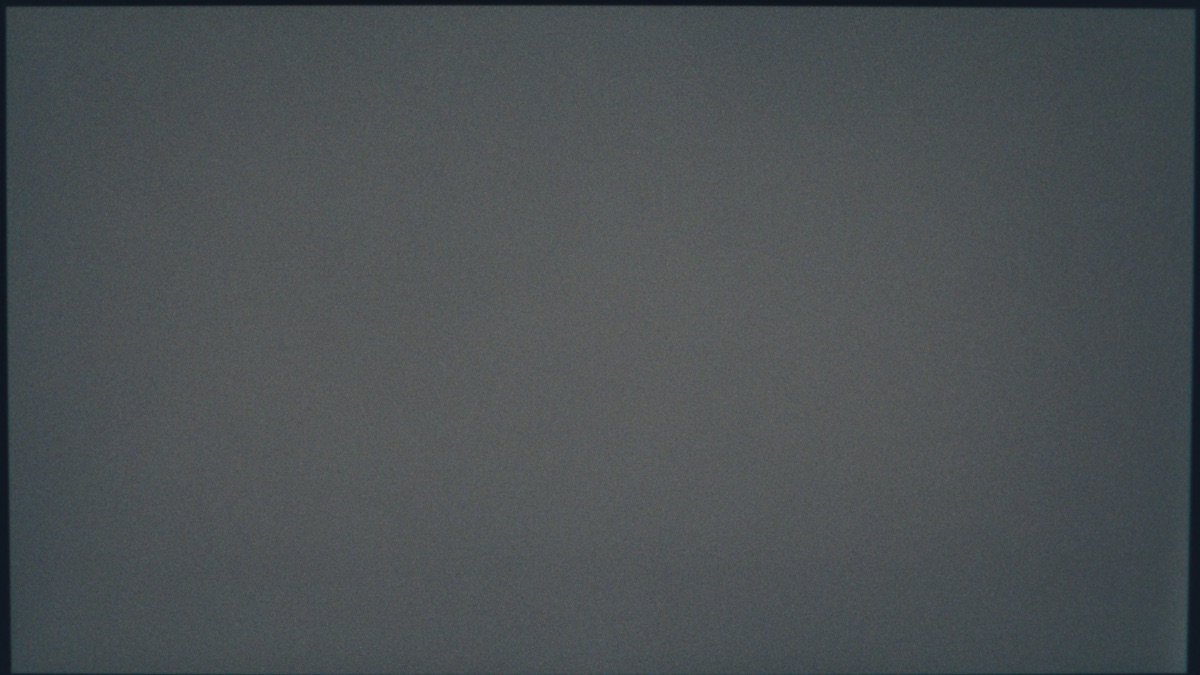
Example ROI
Lower midtone group · frame 1
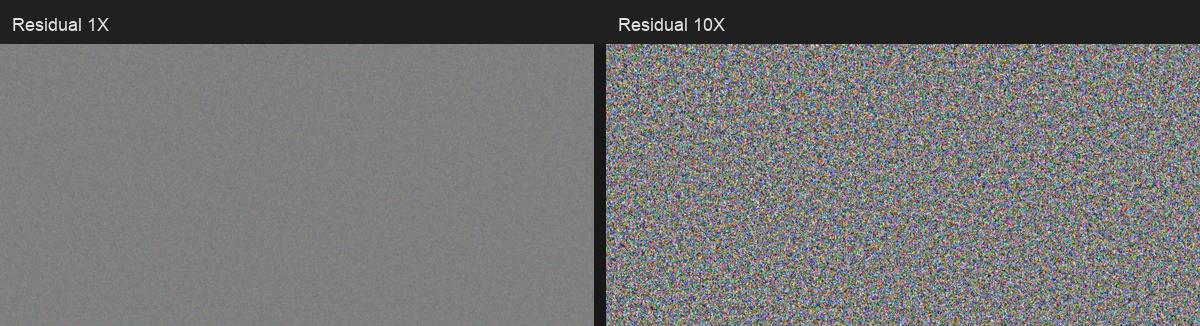
Example residual
Look for grain, not recognizable scene structure.
The 1× view is intentionally subtle. The 10× view reveals the grain’s spatial and colour structure so dust, scratches, gradients, or picture detail are easier to reject.
The exported profile groups equivalent sample names and averages their measurements into profile entries.
Result
Exported .grainprofile
A user profile containing the reviewed and grouped grain measurements.
03 · MTF match
Match Digital to Film MTF
Measure clean slanted edges for both roles at the resolution for which the MTF profile will be used. Remove visible outliers, build averages when several samples are available, and then analyze the match.
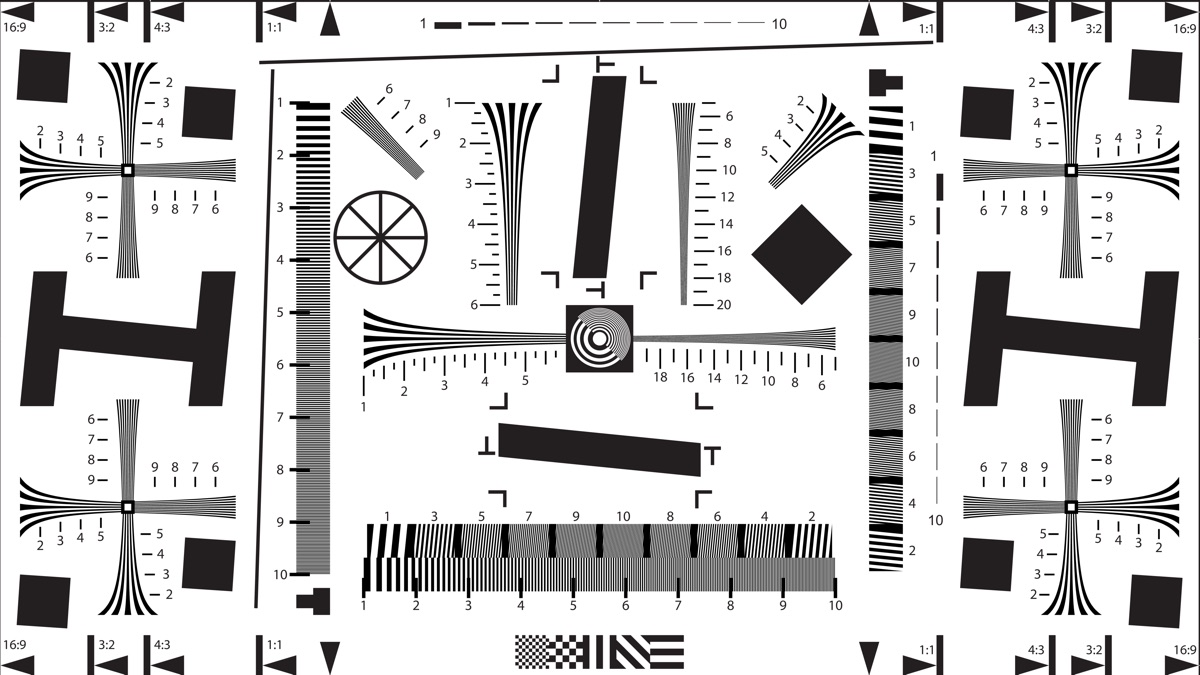
Illustrative preview reduced for fast loading.
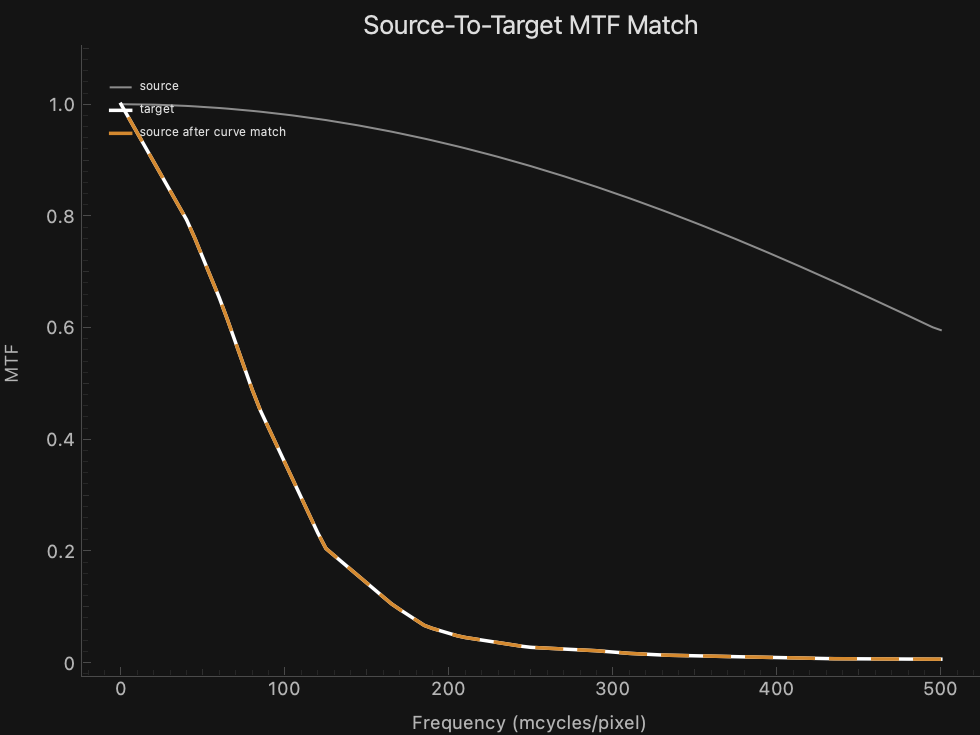
Compare the Source, Target, and matched-Source curves. The matched Source should closely follow the Target over the usable frequency range.
Result
Exported match JSON
A user profile containing the Source-to-Target MTF match.
04 · Best practices
Get cleaner, more representative measurements.
Important
Profile resolution
Create both Grain and MTF profiles at the resolution at which they will be used in the FilmMatch Grain OFX plug-in.
Grain sampling
Choose clean, uniform areas. The analyzer tolerates subtle vignetting and low-frequency variations, but uniform patches produce more accurate results. Start with 500–700 px ROIs; larger uniform ROIs can improve accuracy but take longer to analyze and export.
Grain sequences
Sample the same uniform area across consecutive frames using the same ROI coordinates, size, and group name. A few dust spots or scratches are acceptable, but the area should remain broadly uniform; avoid excessive dust or scratching, recognizable scene detail, strong gradients, or processing artifacts.
MTF sampling
Measure multiple clean slanted edges with enough light and dark area on both sides. Remove visible outliers and build an average, especially for grainy, soft film such as 16mm.
MTF matching
Use the same Source and Target resolution when possible; Width is normally the appropriate reference. Match the Digital Source to the Film Target, then confirm the matched-Source curve closely follows the Target.